Creating Aliases in eZ Credit Card Import
The Aliases window enables you to create set of “aliases.” Aliases are payees and accounts that are pre-defined. Therefore, when the application reads an online banking export file and an alias is encountered, a pre-defined payee and account is automatically pre-populated in the Review Transactions window
By creating aliases, you are not required to have a one for one match between online transactions and vendors & customers within your accounting software. It also eliminates the possible issue faced when vendors add transaction identifiers, such as store number or date, to transactions.
To create a new Alias in eZ Credit Card Import:
1. Launch eZ Credit Card Import. The Select Import File window opens.
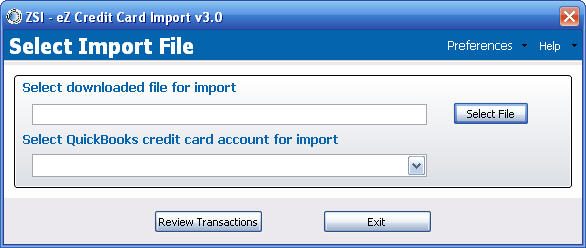
Figure 14: Select Import File window
2. Navigate to the file to import by clicking Select File.
3. Select the QuickBooks credit card account for import from the drop-down list.
4. Click Review Transactions. The Import Transactions window opens:
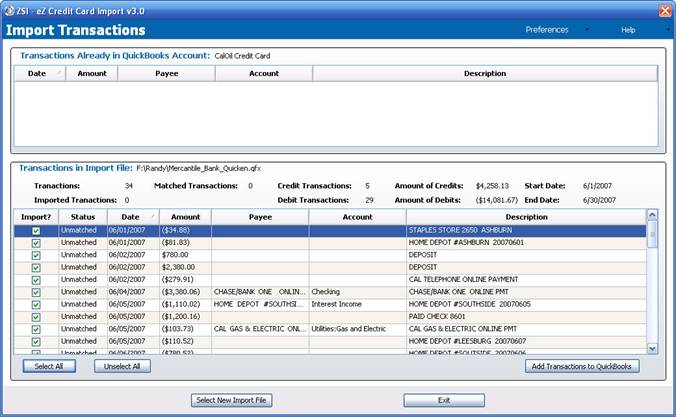
Figure 15: Import Transactions window
5. Navigate to the transaction for which an alias needs to be created.
6. Right-click on the entry for which an alias needs to be created. A pop-up menu displays:
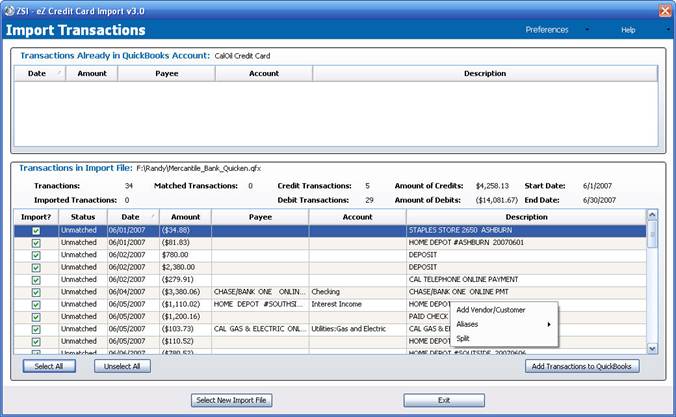
Figure 16: Pop-up menu displays
7. Click Aliases. The menu expands:
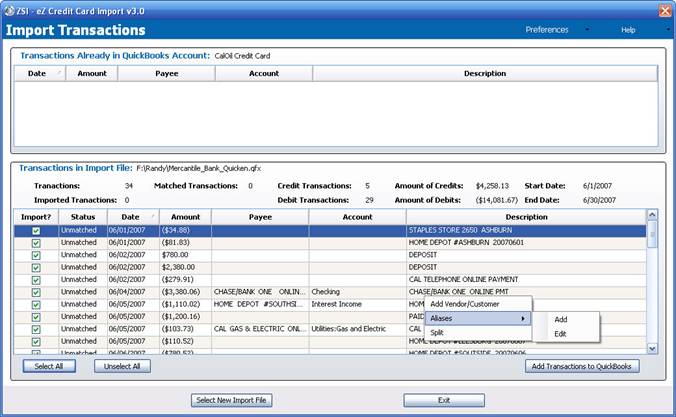
Figure 17: Aliases menu expanded
8. To add a new alias, click Add. The Alias window opens:
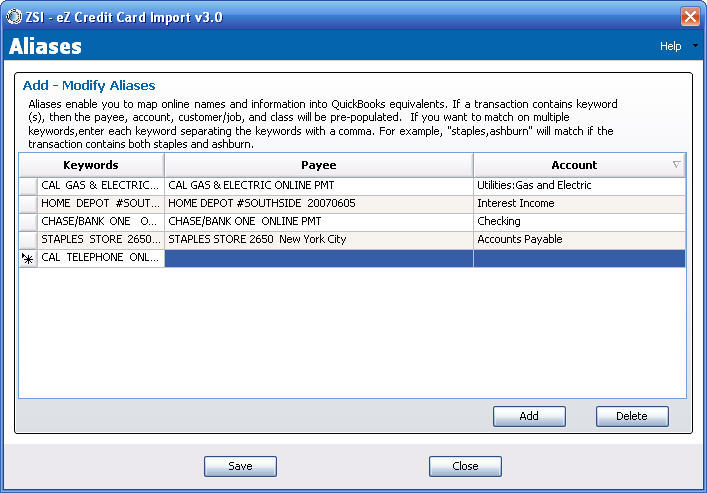
Figure 18: Aliases window
9. The keyword from the transaction row selected displays at the bottom of the Add-Modify Aliases list.
10. Using your cursor, click the drop-down box that populates in the Payee column and select the payee for that “keyword”:
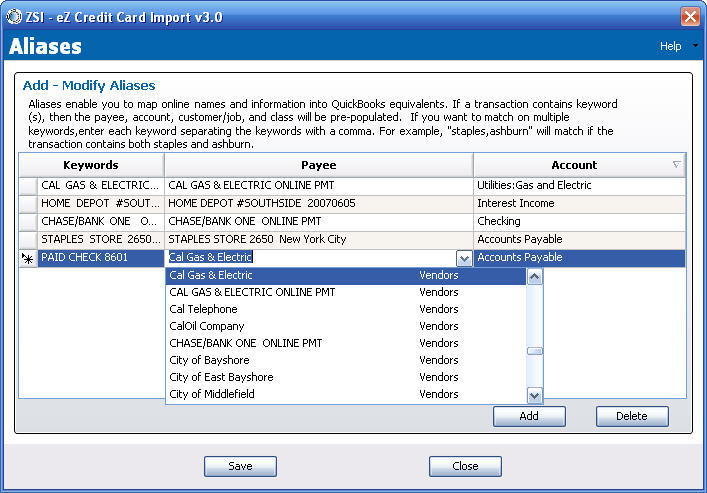
Figure 19: Payee drop-down list
11. Using your cusor, click the drop-down box that populates in the Account column and select the account for that “keyword”:
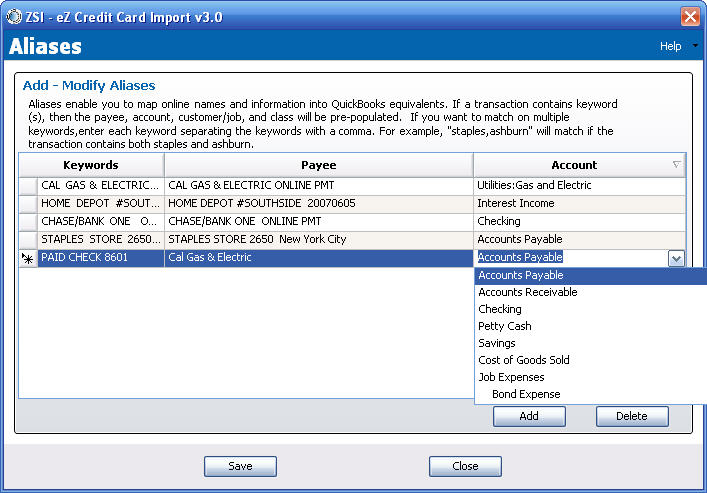
Figure 20: Account drop-down list
12. If you want to add more aliases, click Add. Enter the Keyword, Payee and Account for each additional Alias.
13. Once all aliases are added, click Save. If you do not click Save and Aliases have been updated or added, a warning dialog box displays:
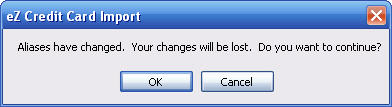
Figure 21: Aliases updated or added without being saved warning dialog box
Note: if you have not properly populated all columns for each alias added, the following warning dialog box displays:
Figure 22: Alias associated columns not completed correctly Error dialog box