Registering eZ Credit Card Import for QuickBooks® Desktop Versions
To register eZ Credit Card Import, follow these steps:
1. From the Start menu, select All Programs.
2. Navigate to Zachary Systems Inc folder and select eZ Credit Card Import.
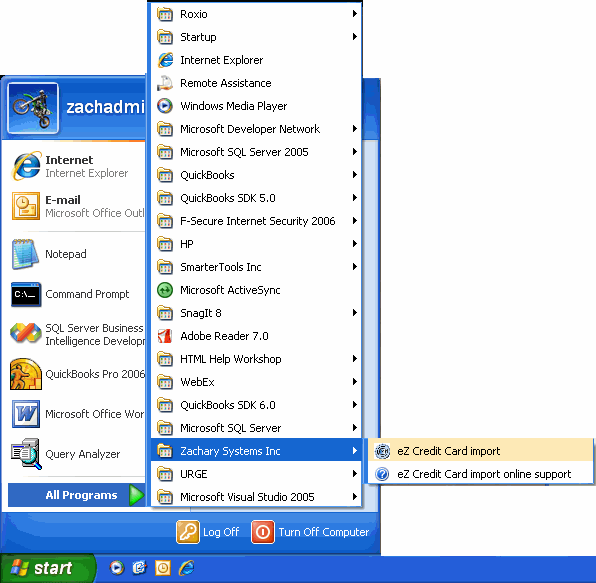
Figure 46: Menu on Computer to Launch Registration
The Launching Application window opens and verifies that all required elements are available on your PC.
The Registration Process Overview window opens:
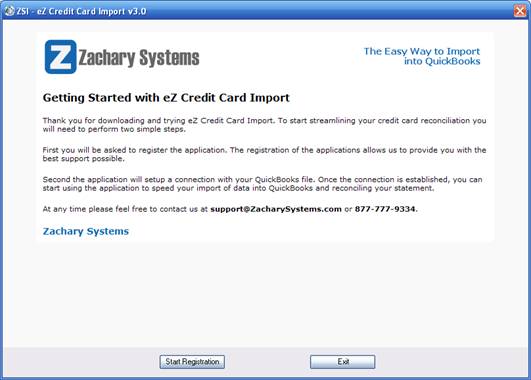
Figure 47: Registration Process Overview window
Review the contents of this page.
3. The Select Quickbooks Version window opens:
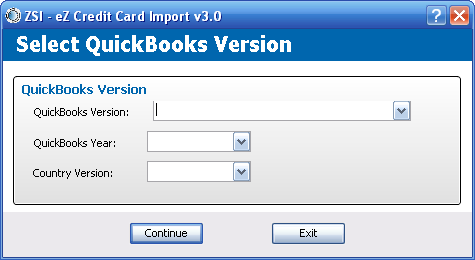
Figure 48: Select QuickBooks Version window
4. Select the Version of Quickbooks being used from the drop-down list, the Quickbooks Year from the drop-down list and the Country Version from the drop-down list.
5. Click Continue. The Business Registration window opens:
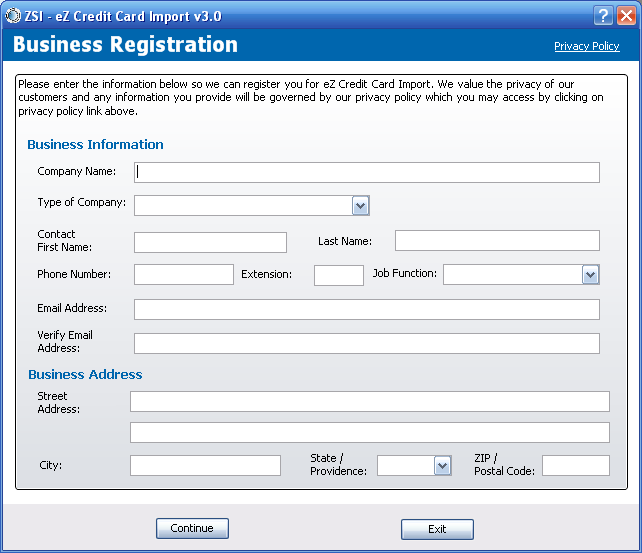
Figure 49: Business Registration window
6. Populate the fields with your company information. This information will never to shared or sold. It is important the information be accurate and correct. Updates and support will be provided via the input provided on this screen.
7. Once all fields are complete, click Continue.
Note: If all necessary information is not provided, an Error dialog box will open:

Figure 50: Error dialog box
Click OK and complete all fields within the
Business Registration window. Once the window is displayed, the warning icon
 will display next to the field
that requires updating.
will display next to the field
that requires updating.
8. Once all information is correctly entered, and the Continue button is selected, the software will display a window while it processes the information and sends the provided input to the Registration Server. Please wait a few seconds for this process to complete.
9. An Information window opens once the exchange of registration information is complete:

Figure 51: Informational window
10. Click OK once you have reviewed the content of this window.
11. Check your email account. You will receive a message titled: eZ Credit Card Import Registration from eZAccountImport@Zacharysystems.com. If you have purchased this product, you will receive a key shortly. If you have chosen to review the Demo, you will be able to utilize the product for 14 days. While utilizing the Demo version, users can only import 5 transactions per session.
12. Click OK. The Enter Activation Key window opens:
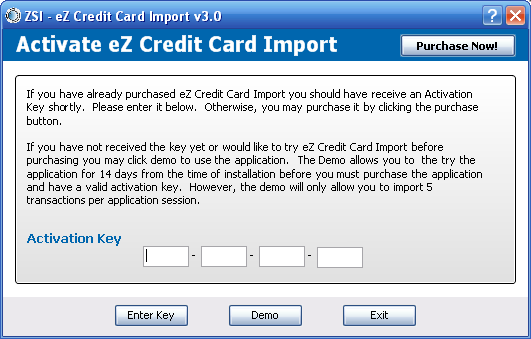
Figure 52: Enter Activation Key Window
Note: Until you have purchased the product and entered your Activation Key, you see this page when launching eZ Credit Card Import.
If:
You have not purchased the product via PayPal® or you have decided to demo the product before purchasing, click Demo.
OR
You have purchased the product and have received your Activation Key, enter the key you received via email in the Activation Key fields. Then, click Enter Key.
13. Once your activation key is accepted, the following Informational window displays:
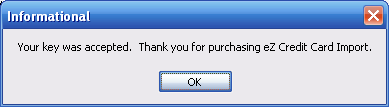
Figure 53: Informational Activation Key Accepted Window
14. Click OK.