Selecting Import Files in eZ Credit Card Import
eZ Credit Card Import makes it very easy for the end-user to start importing online banking export files into QuickBooks®. To begin utilizing eZ Credit Card Import, the user must first export data from their banks online banking site in either .QIF, Quicken (.QFX) or QuickBooks (.QBO) format.
To import downloaded online banking export files, follow these steps:
1. Run eZ Credit Card Import by Navigating to Start | All Programs | Zachary Systems Inc. | eZ Credit Card Import.
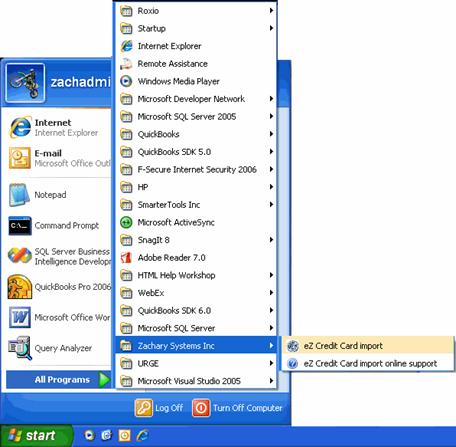
Figure 67: Navigation to eZ Credit Card Import
2. The Select Import Information window opens:
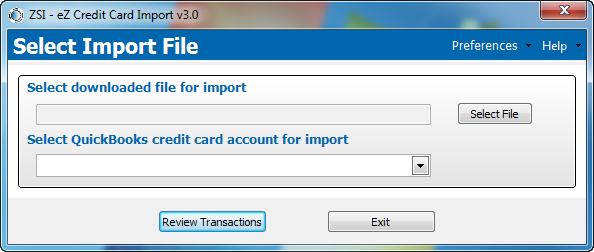
Figure 68: Select Import Information window
3. Click Browse to navigate to the online banking export file to import into eZ Credit Card Import. The Select Import File dialog box opens:
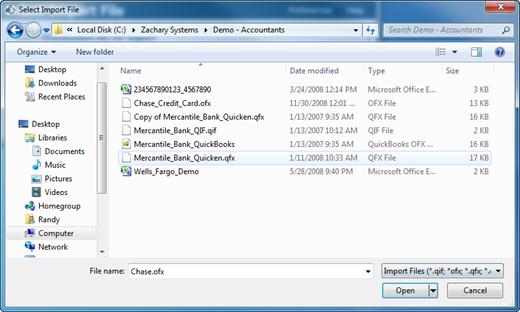
Figure 69: Select Import File
4. Select the .QIF, Quicken (.QFX) and QuickBooks (.QBO) file to import and click Open. The file selected will display in the Import File field:

Figure 70: Import File field populated
5. Select a QuickBooks® Account for import from the drop-down. This field is populated with bank accounts contained within the open QuickBooks® file.
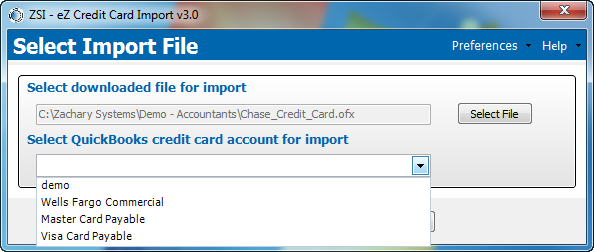
Figure 71: Bank Accounts from which to select
6. Click Review Transactions. The eZ Credit Card Import window opens indicating that the application is processing the transactions in the file.
Figure 72: eZ Credit Card Import Processing window
While processing, eZ Credit Card Import is:
eZ Credit Card Import.
® register for the account selected is read and compared to the transactions. Any QuickBooks® transaction with the same amount, within a week of export file transaction and has the same check number or is blank check number is marked as a Matched transaction.
Note: Transactions will not be imported during this step. You will review them next before importing the transactions into QuickBooks®.
Once eZ Credit Card Import has finished processing, the Import Transactions window opens:
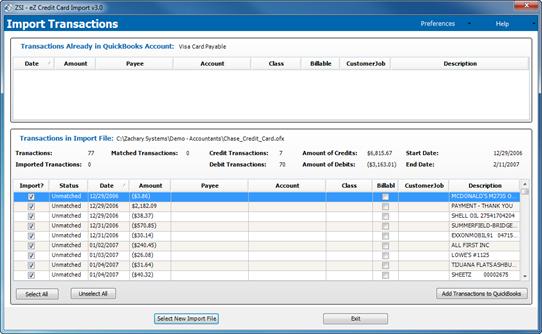
Figure 73: Import Transactions window